The original Ranger R-25s were fitted with a 110 HP Cummins Diesel. Later models were fitted with a 110 HP Yanmar and eventually a 150 HP Yanmar. While these are all fine engines, as expected the 150 HP on the Shearwater moves her along faster and generates more heat in the process.
Fluid Motion did hot upgrade the raw water cooling when they upsized the engine. Run at low cruising speed or occasional higher speed, the smaller cooling was sufficient. At extended high speed or when there was some marine growth on the inlet, the engine tended to overhead.
We wanted to upgrade the cooling so it was sufficient for extended high speed running.
We had a trusted shop remove the thru hull and replace it with a larger thru hull mushroom upgrading the cooling from 1 1/4″ to 1 1/2″. We speculated that since the boat lives in a slip in a drainage canal from the Okeechobee Waterway, there is a foul combination of salt and freshwater organisms that caused the excessive growth. This growth and the paint caused the reduced water flow.
The thru hull was diameter was raised to a 1.5″ bronze fitting, about twice the water carrying capacity. The original factory fitting has proven a problem on several R25 that are ran at higher speed in South Florida waters where marine growth is a challenge.

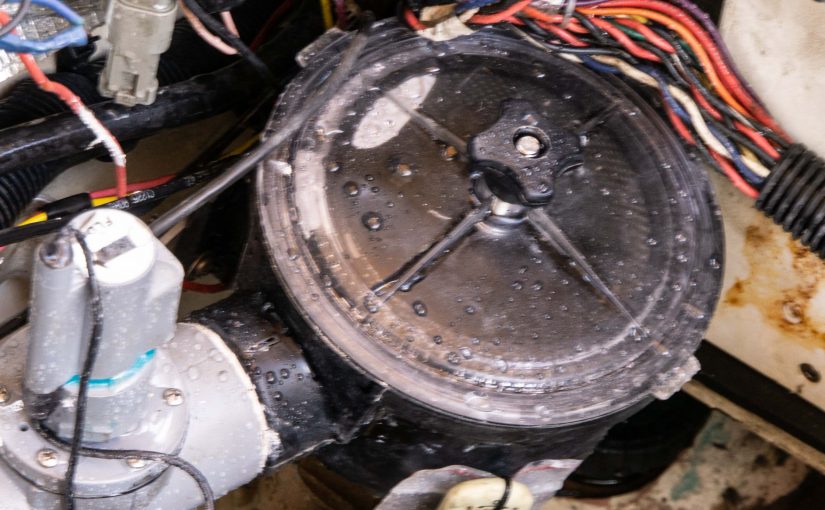
While the clogged thru hull was being replaced, the shop also installed a new 1.5″ bronze seacock and strainer. They removed the elbow that was previously in the raw water path and found it partially clogged with dead marine growth. The new straight line strainer, seacock, and thru hull can all be cleaned as necessary by inserting a 1/4″ threaded rod in the open sea strainer and “filing” out the marine growth. The top of the sea strainer is located at the water level so it is easy to clean as necessary.
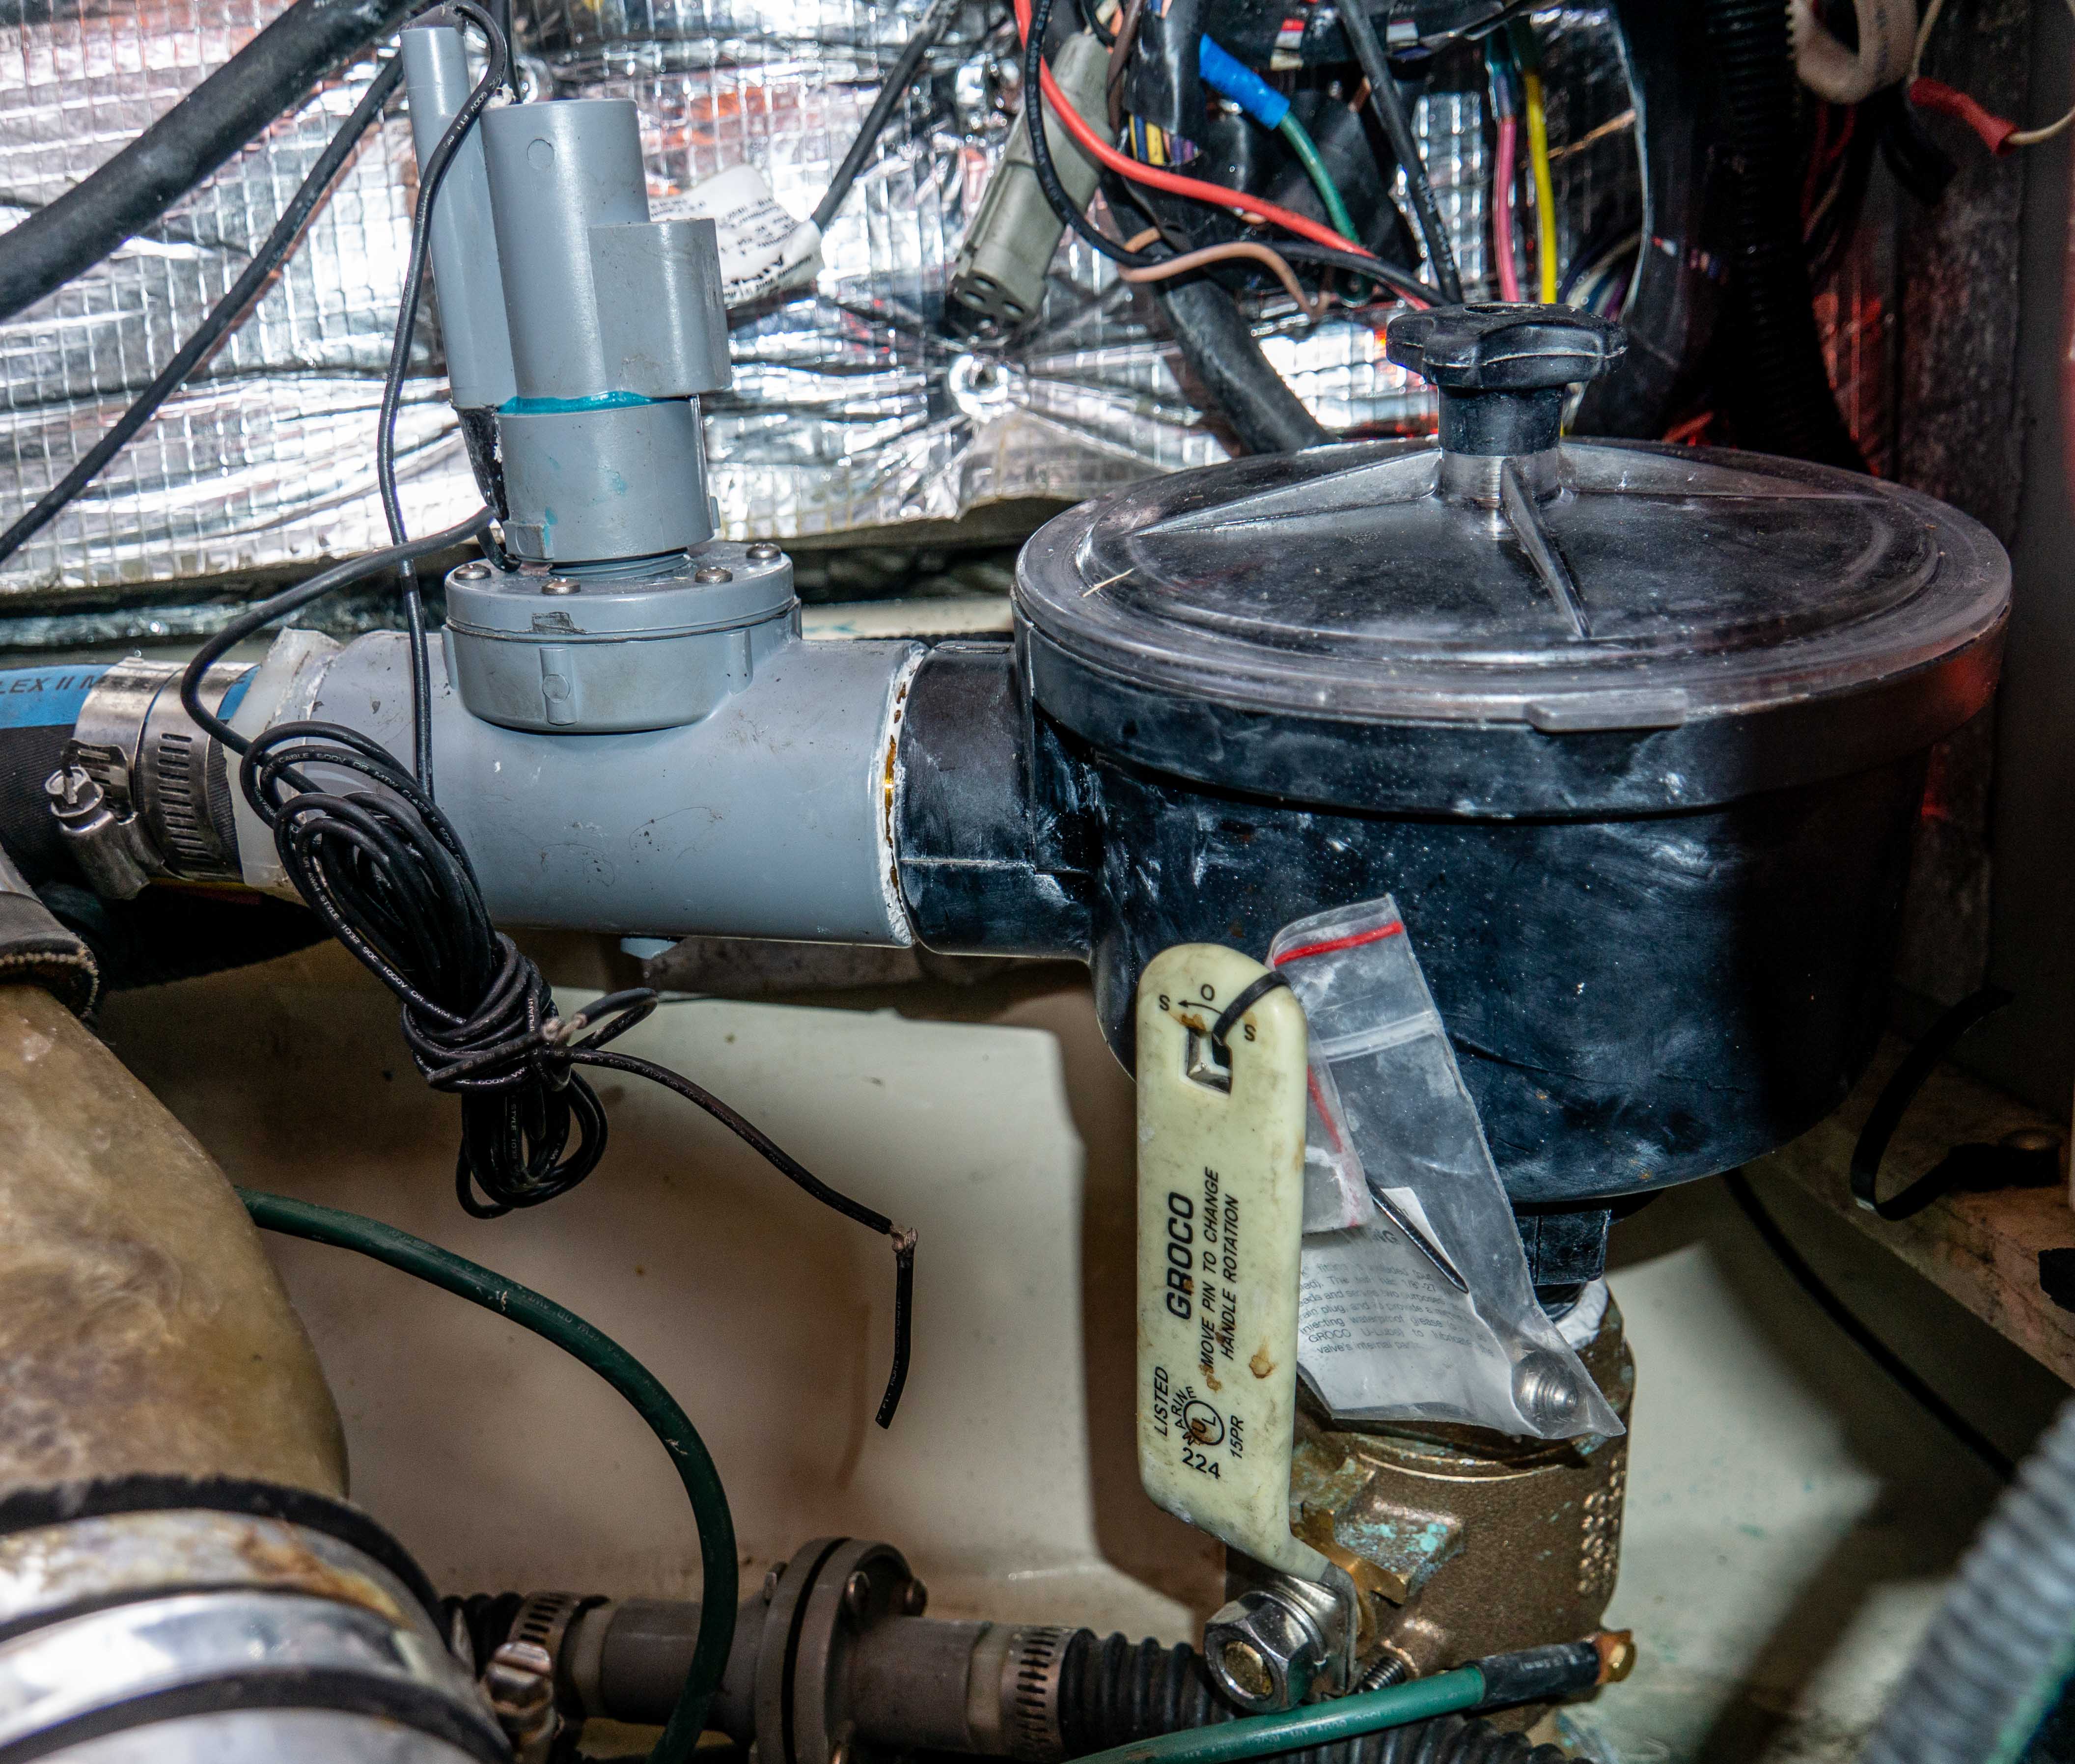
Located on the left side of the image is the new flow sensor that, hopefully, will detect a clogged sea strainer before the engine or muffler are damaged. I have also installed an exhaust overheat sensor that should detect exhaust gas overheating because of low water flow.
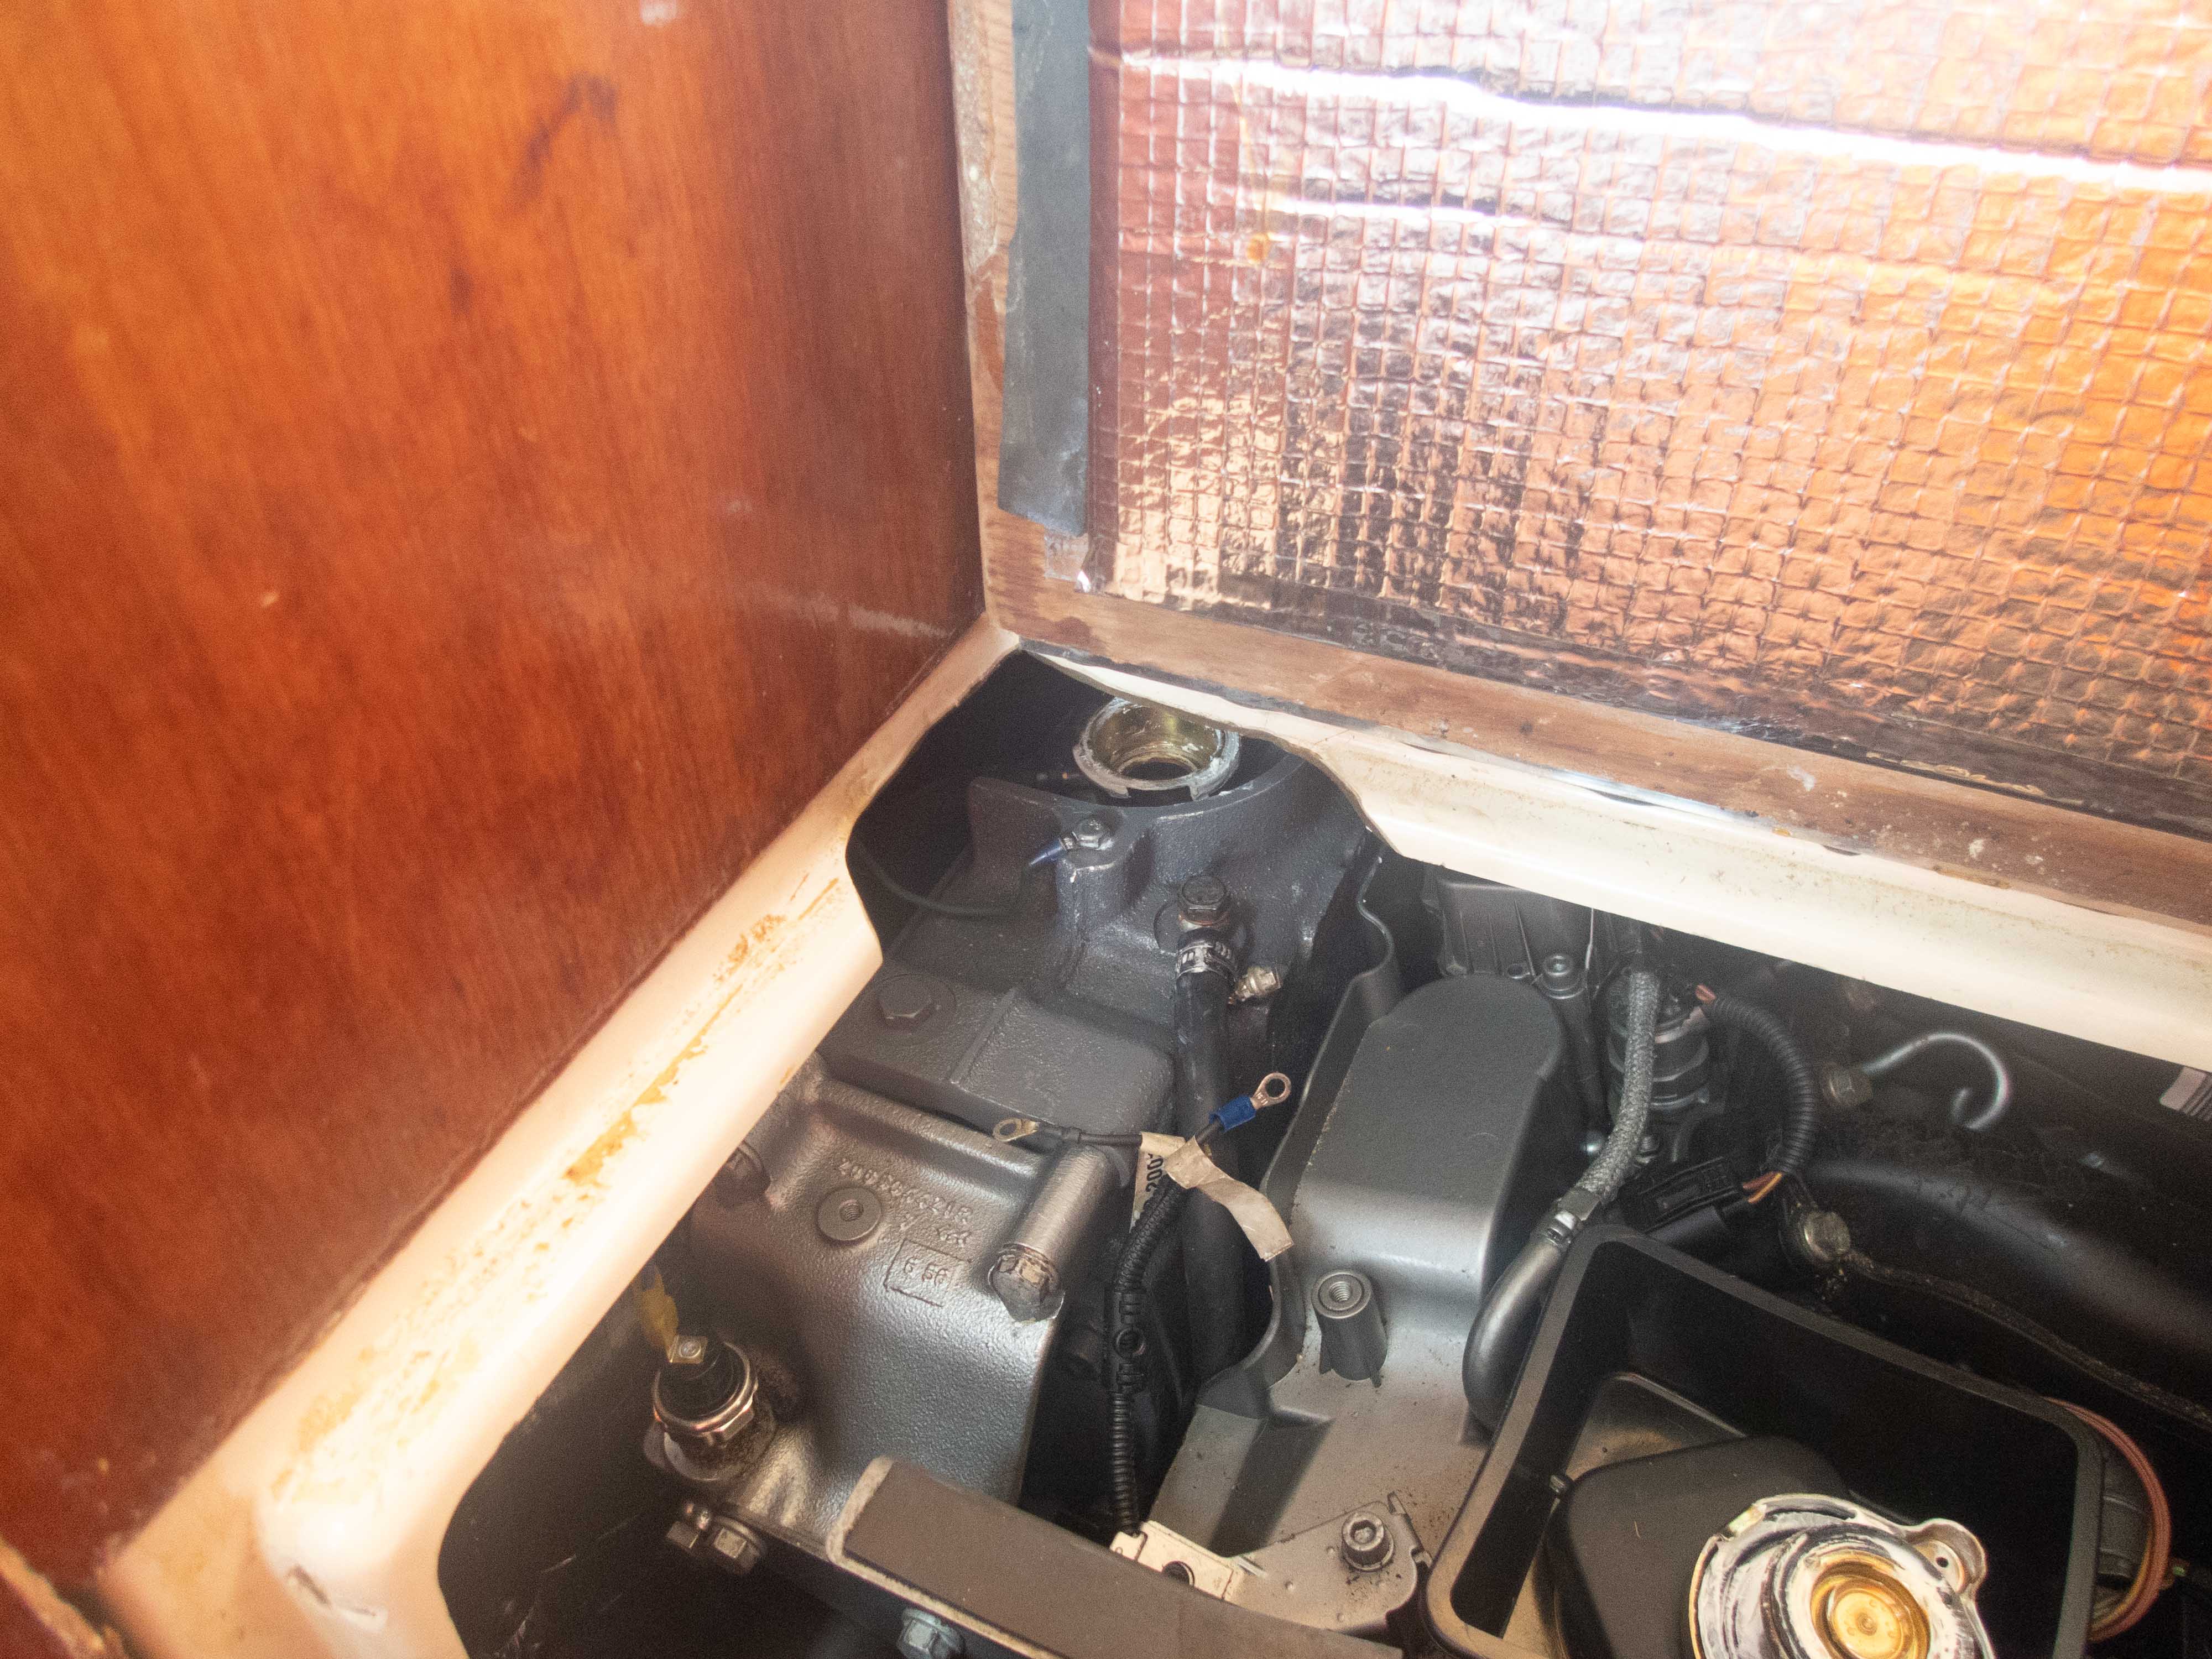
Finally, it was nearly impossible for me to remove and replace the heat exchanger cap since it is located under the door sill. As you can see in the photo below, I have trimmed as much fiberglass as I felt could be safely removed so it is possible, but difficult, to remove the cap.
We fixed the engine coolant fill access problem by replacing the overflow bottle with a pressurized stainless steel overflow container that is operated at engine coolant pressure. This container retains and replaces the small amount of coolant that is expelled as the engine heats, returning it – and any makeup coolant needed for leaks – to the top of the engine. I removed the pressure seal ring inside the heat exchanger cap and installed a new pressure seal ring on the new expansion tank.
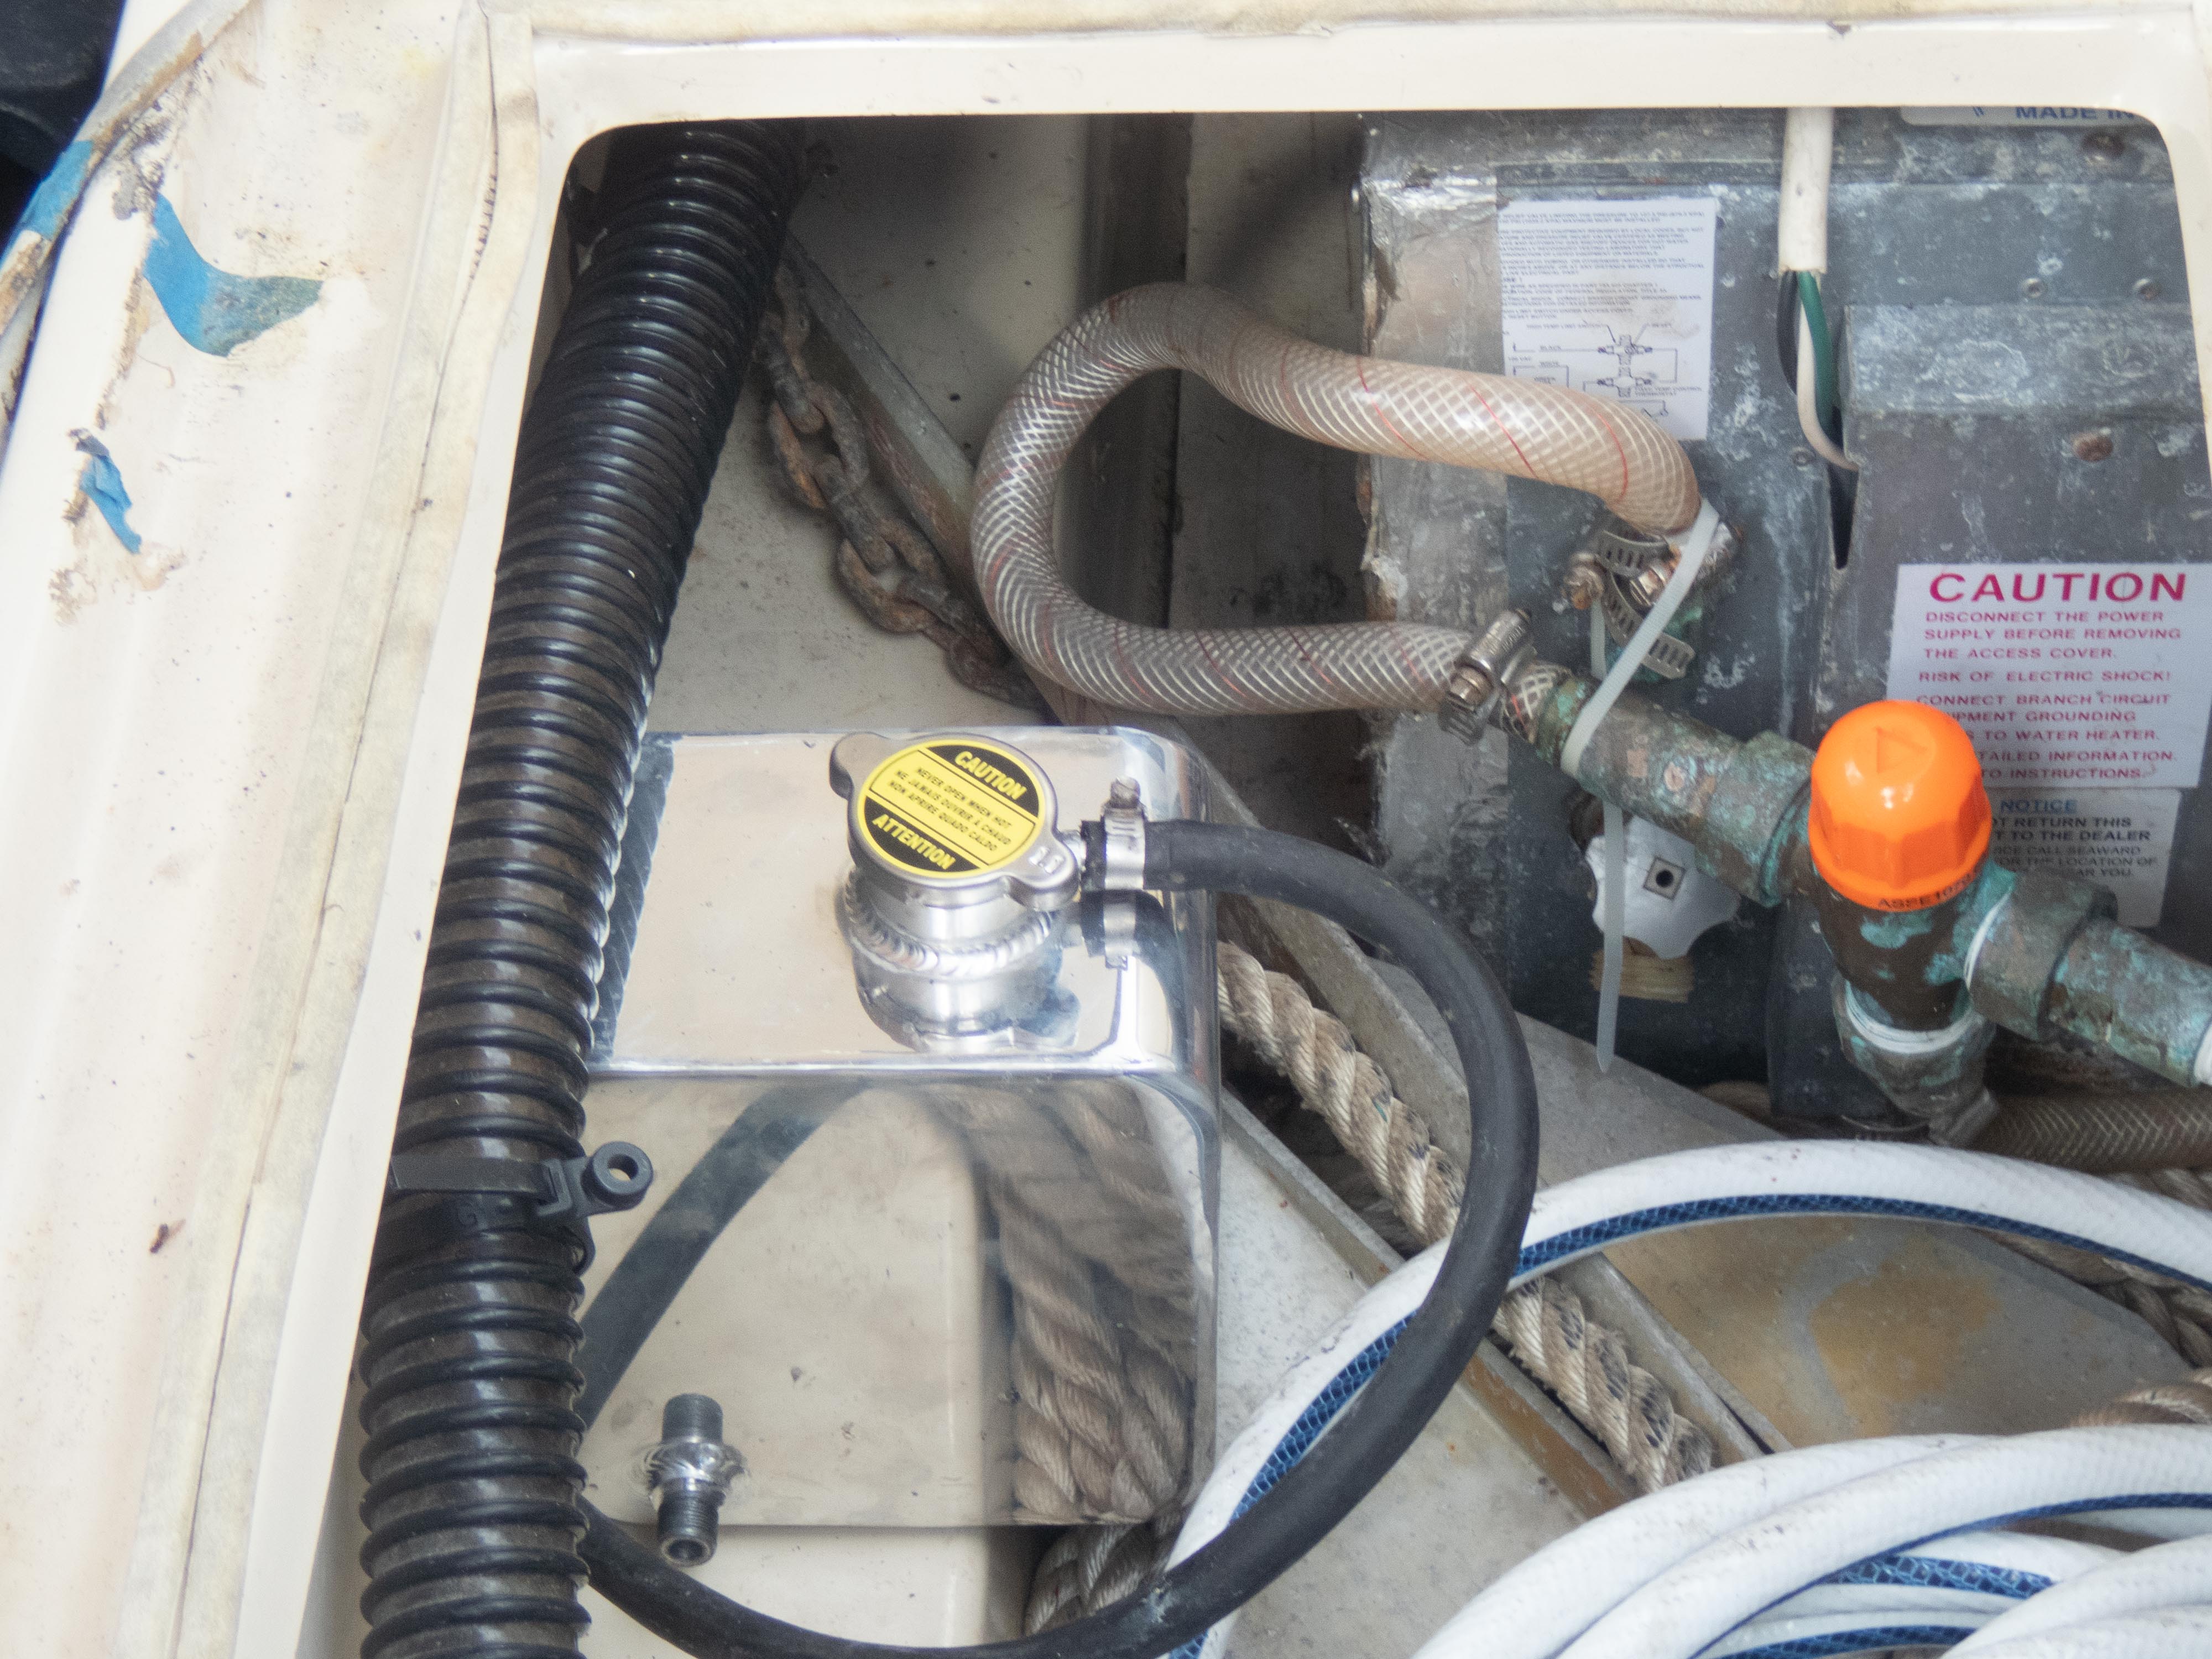
The slick looking polished 2-liter jug is bolted just aft of the domestic hot water heater and is easily accessed without moving anything, injuring myself, or potentially spilling or dripping coolant anyplace inside the cabin where the sole would be damaged.